| From: Sparky
|
|
|
|
|
|
|
| Date: 09-Apr-21 |
|
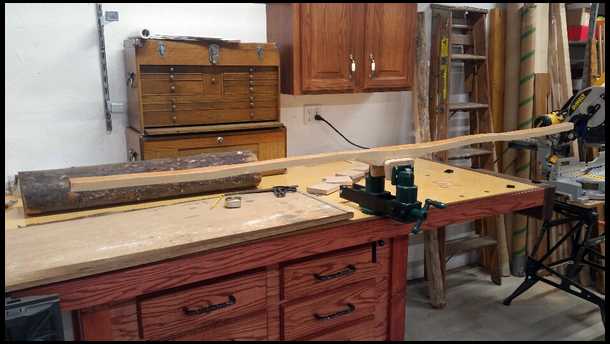
I bought a bandsaw to cut staves down for better drying and more manageable. I'm wondering what kind of blade would be good to cut the hickory down? Do any of you use a bandsaw during the process that might have a bit o advice? Width and tpi? It's a Rockwell 14. Here is a pic of some of my staves. Thanks, Greg.
|
|
| From: Jeff Durnell
|
|
|
|
|
|
|
| Date: 09-Apr-21 |
|
I have a 14" Craftsman bandsaw which I believe is similar to yours. For stave work I use 3/4" wide, 4 tpi blade. It goes through them like butter.
|
|
| From: Chairman
|
|
|
|
|
|
|
| Date: 10-Apr-21 |
|
I rip a lot of green staves for my business, not bow building. I have tried a little bit of everything . Believe it or not Harbour Freight has a 3 tip blade for that size saw, works incredibly well for that purpose.
|
|
| From: JusPassin
|
|
|
|
|
|
|
| Date: 10-Apr-21 |
|
Yup, 3 or 4 tpi
|
|
| From: Eric Krewson
|
|
|
|
|
|
|
| Date: 10-Apr-21 |
|
I use a 1/2" 3 or 4 TPI. There is a learning curve to using a bandsaw, make a lot of little cuts instead to trying to get what you want to accomplish in one cut. Always draw a line to follow for a bows profile, if you ty to freehand it is easy to run off the rails.
|
|
| From: JLBSparks
|
|
|
|
|
|
|
| Date: 10-Apr-21 |
|
Eric is correct. You can't always eat the whole pie in one bite.
-Joe
|
|
| From: Sparky
|
|
|
|
|
|
|
| Date: 10-Apr-21 |
|
Thanks guys. I'm glad you said little cuts Eric. Now when I do my initial cut down I'll make a bunch of cross cuts first. Fella can learn a lot round here.
Greg
|
|
| From: Osage Outlaw
|
|
|
|
|
|
|
| Date: 10-Apr-21 |
|
Watch how you tilt the stave while sawing out the profile of the bow. Keep the back flat or slightly higher on the opposite side you are cutting. It's easy to tilt it the other way and the sides of your limbs will be cut in at an angle. It took me a few bows to figure that out when I first started. I use 3/4" 4 TPI Olson blades from Ebay. They are good quality and good price.
|
|
| From: Jeff Durnell
|
|
|
|
|
|
|
| Date: 10-Apr-21 |
|
I lay it out 2 to 2 1/2" wide and make a straight cut down each side about half way or more, then flip it around and finish. That way it doesn't get too heavy on the other side of the saw. I have roller support stands, but still easier to flip em around.
Clint is right, keep the back flat when cutting out the sides. Also, when removing wood from the belly, don't try to cut the whole way flat across it. You'll never hit the thickness line on the other side, sometimes cutting too thin. I have some pictures that will show you a little 'secret'....
|
|
| From: Jeff Durnell
|
|
|
|
|
|
|
| Date: 10-Apr-21 |
|
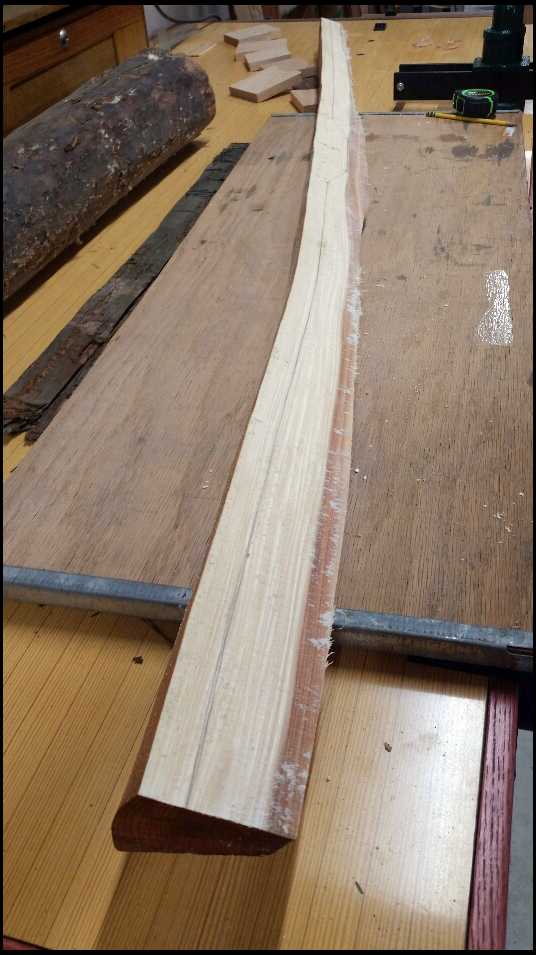
Elm staves ripped to 2" wide.
|
|
| From: Jeff Durnell
|
|
|
|
|
|
|
| Date: 10-Apr-21 |
|
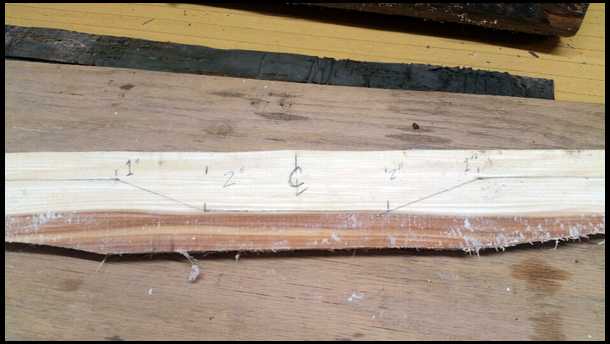
Oversized handle and dip area laid out.
|
|
| From: Jeff Durnell
|
|
|
|
|
|
|
| Date: 10-Apr-21 |
|
3/4" thickness lines drawn down both sides of the stave.
|
|
| From: Jeff Durnell
|
|
|
|
|
|
|
| Date: 10-Apr-21 |
|
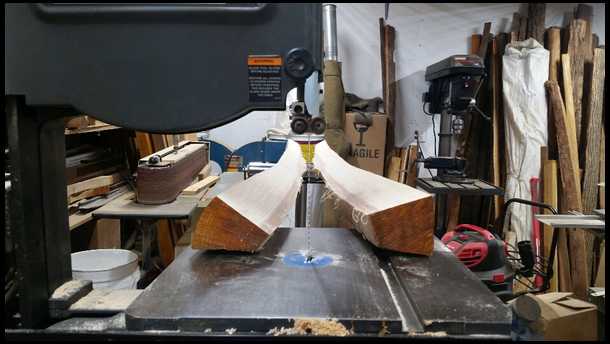
Now the important part... for this cut, you DON'T want the stave flat/level. Turn it on a bit of a slant (make sure you tilt it the right way), so you won't cut up into your line on the side resting on the saw table.
|
|
| From: Jeff Durnell
|
|
|
|
|
|
|
| Date: 10-Apr-21 |
|
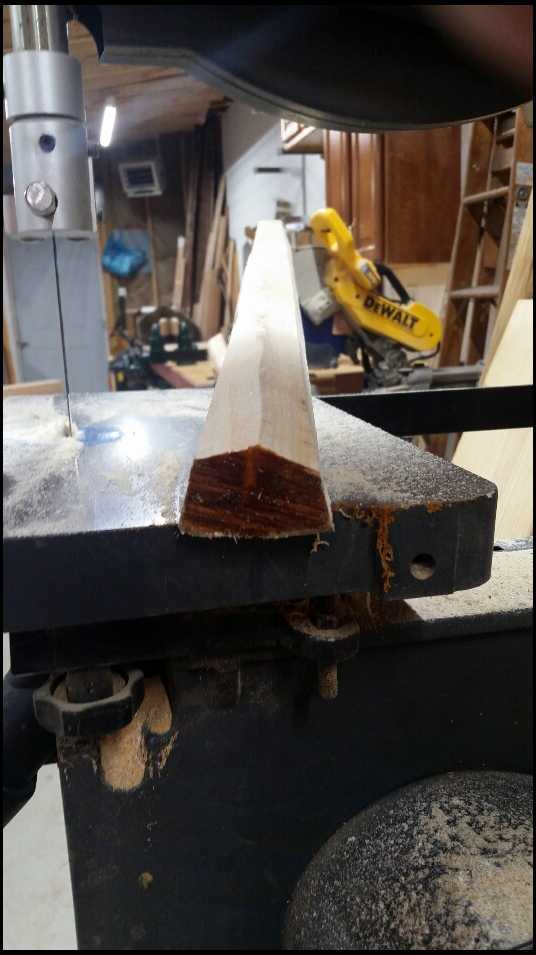
Then flip it over and do the other side. It leaves a peak down the middle that is easily, and much more safely, removed with another saw cut, and/or hand tools.
|
|
|
|
| From: wooddamon1
|
|
|

|
|
|
|
| Date: 10-Apr-21 |
|
Man, I need a bandsaw.
|
|
| From: Osage Outlaw
|
|
|
|
|
|
|
| Date: 10-Apr-21 |
|
Good picture tutorial Jeff.
|
|
| From: 4nolz@work
|
|
|
|
|
|
|
| Date: 10-Apr-21 |
|
4tpi take some time and learn how to properly set up a bandsaw
|
|
| From: bentstick54
|
|
|
|
|
|
|
| Date: 10-Apr-21 |
|
Clint and Jeff nailed it. Great pictures Jeff.
|
|
| From: Jeff Durnell
|
|
|
|
|
|
|
| Date: 11-Apr-21 |
|
Thanks. By the way, I know the sides aren't squared up yet in most of those pictures, but that's the next thing I do, and I'm pretty anal about it. The last picture has the sides squared to the back, and is ready to go into the steam tube.
These staves were fresh cut and very wet. After they were all brought to this stage, I steamed them to remove any twist and add some gentle reflex.
|
|
| From: Eric Krewson
|
|
|
|
|
|
|
| Date: 11-Apr-21 |
|
Jeff pretty well nailed it, for the sides I cut slightly outside the lines and square things up with a rasp. I handle the belly the same as Jeff.
|
|
| From: Sparky
|
|
|
|
|
|
|
| Date: 11-Apr-21 |
|
Thanks again guys. The pics are great Jeff! I downloaded the manual for the saw. I'll have a new blade tomorrow and plan on taking my time setting it up as per the instructions. I did run it and seems in good working order.
We are just getting into selfbows. My son and I went out late last year and cut some so they could get some drying time in. One of the last things we did before I had surgery. If I had it to do again I'd section the tree differently. The three long pieces are 7 feet long. Initially I just want to cut it up some for drying since they are long and thick.
Jeff I guess I'm the first pic you posted. I imagine the smaller they get before dried the greater likelihood of twisting while drying? For now I planned on cutting to 6' and down the middle. I've added this thread to My favorites for when I get farther along.
-Greg
|
|
| From: Jeff Durnell
|
|
|
|
|
|
|
| Date: 11-Apr-21 |
|
They can be processed green and full of moisture if some precautions are taken. They don't have to be steamed like I did, I just did it to even out humps, twist and add reflex. But steaming and clamping them to a caul fresh off the stump like that actually drives moisture out and helps keep them from twisting as they dry.
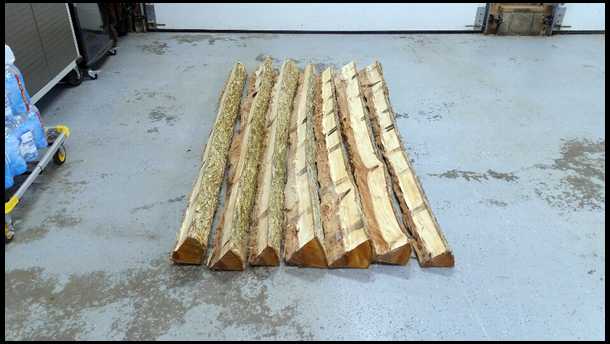
I split that elm log down into stave-splits the day after I brought it home. The bark popped right off each piece because it was cut during the growing season. I immediately sealed the backs with 2 coats of shellac. The ends had been sealed in the field before I loaded it in the truck because the end cuts can check very quickly. And then they were immediately reduced the way I said, 2 to 2 1/2" wide, 3/4" thick. At that point they're pretty safe, and can either be steamed and reflexed, or left as-is to dry. If they twist as they dry, they can be corrected later with heat.
I do not just halve or quarter a large log and leave the bark on because they don't lose moisture effectively or evenly and the odds of them acquiring drying checks is greater.
|
|
| From: Jeff Durnell
|
|
|
|
|
|
|
| Date: 11-Apr-21 |
|
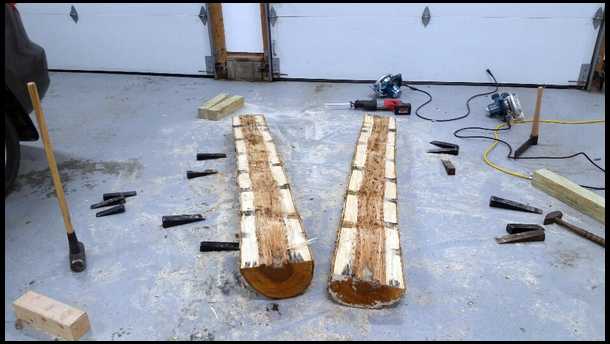
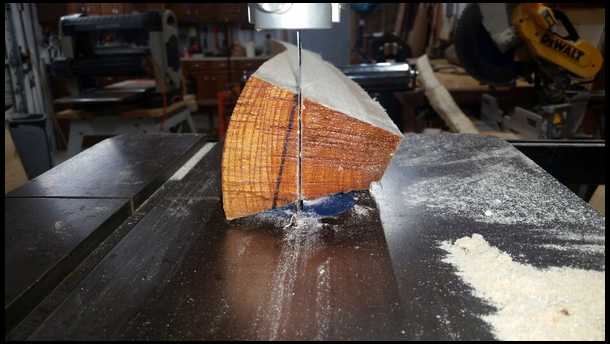
Here's some more pics of processing that elm log.
|
|
| From: Jeff Durnell
|
|
|
|
|
|
|
| Date: 11-Apr-21 |
|
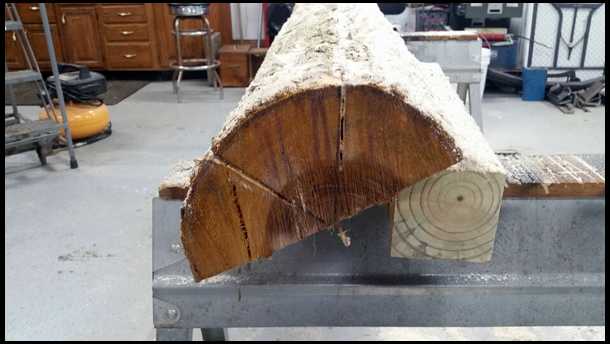
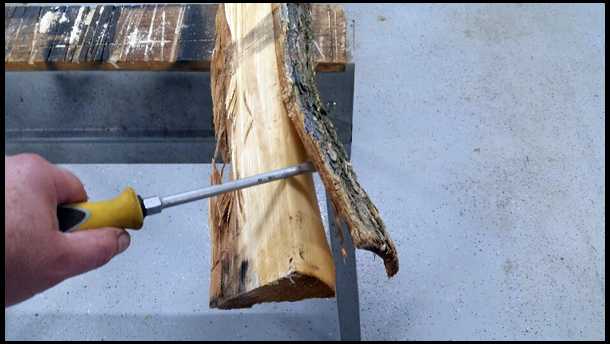
Elm is a real bear to split so I snapped a chalk line and kerfed them as deep as I could. That isn't necessary on most other woods.
|
|
|
|
|
|
| From: Jeff Durnell
|
|
|
|
|
|
|
| Date: 11-Apr-21 |
|
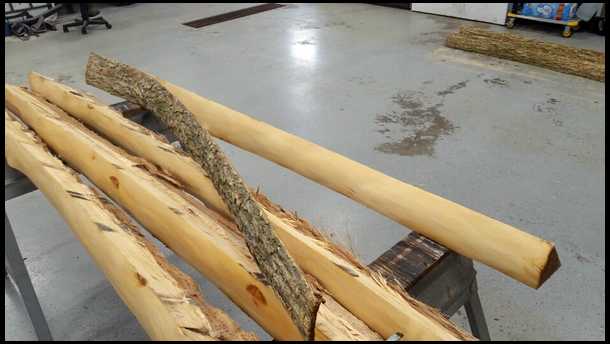
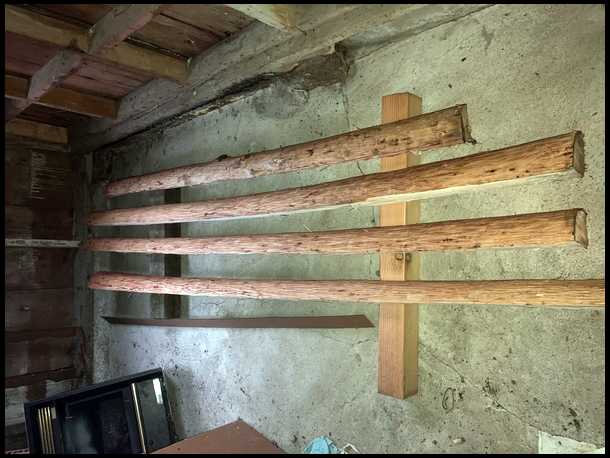
Always nice when the bark comes off like this.
|
|
If you have already registered, please sign in now
For new registrations Click Here
|
|
|
|