| From: Longcruise
|
|
|
|
|
|
|
| Date: 04-May-20 |
|
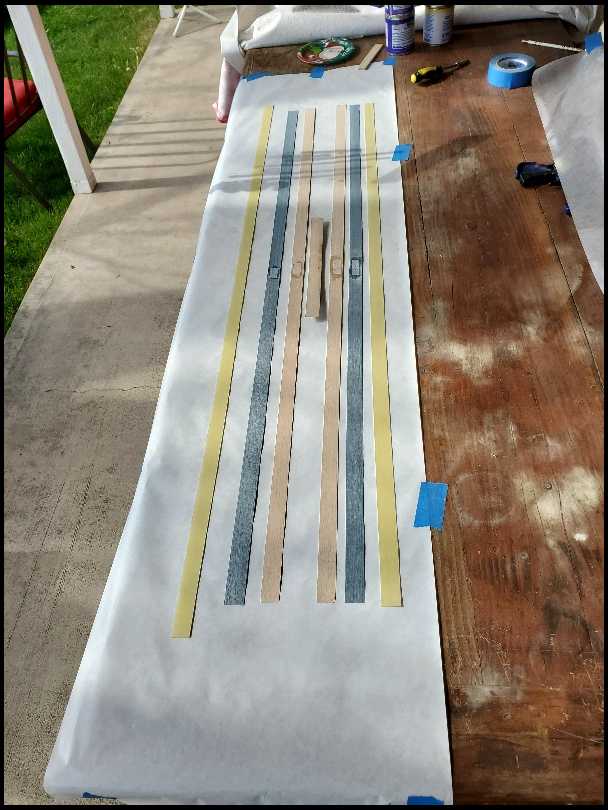
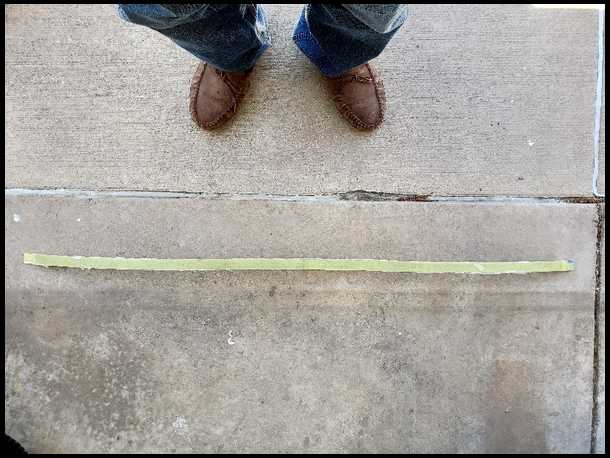
I just srarted this bow this morning and thought about the request for build alongs in another topic. It wasn't a plan to do this as a build along but why not?
This is just the layout of the lams before glue up. The bow is curing right now. No pictures of the glue up cause epoxy and cameras don't mix! More later.
|
|
| From: EZ Archer
|
|
|
|
|
|
|
| Date: 04-May-20 |
|
This is great- looking forward to more!
|
|
| From: bodymanbowyer
|
|
|
|
|
|
|
| Date: 04-May-20 |
|
It's not easy mixing epoxy and cellphones :-) JF
|
|
| From: Longcruise
|
|
|
|
|
|
|
| Date: 04-May-20 |
|
LOL! No, but i was dumb enough to do it once.
|
|
| From: Longcruise
|
|
|
|
|
|
|
| Date: 05-May-20 |
|
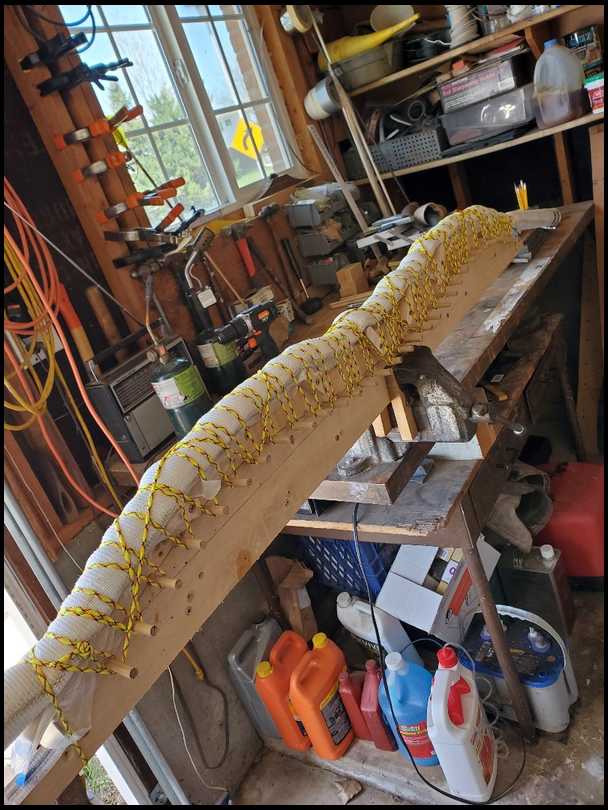
Took it off the form this afternoon and it looks good. I used the topless hose method for this one.
|
|
| From: Longcruise
|
|
|
|
|
|
|
| Date: 05-May-20 |
|
I am always compelled to strip the tape off immediately. Just gotta know if there are any problems. This one has no flaws so that's always a relief! :)
Notice that the bow has no riser at this point. Just a slim section with lams on both sides. I'll install a block to shape to the riser and grip next. Still haven't decided on the riser yet.
|
|
|
|
| From: MattS
|
|
|
|
|
|
|
| Date: 05-May-20 |
|
Very interesting so far. Keep it coming.
|
|
| From: Longcruise
|
|
|
|
|
|
|
| Date: 06-May-20 |
|
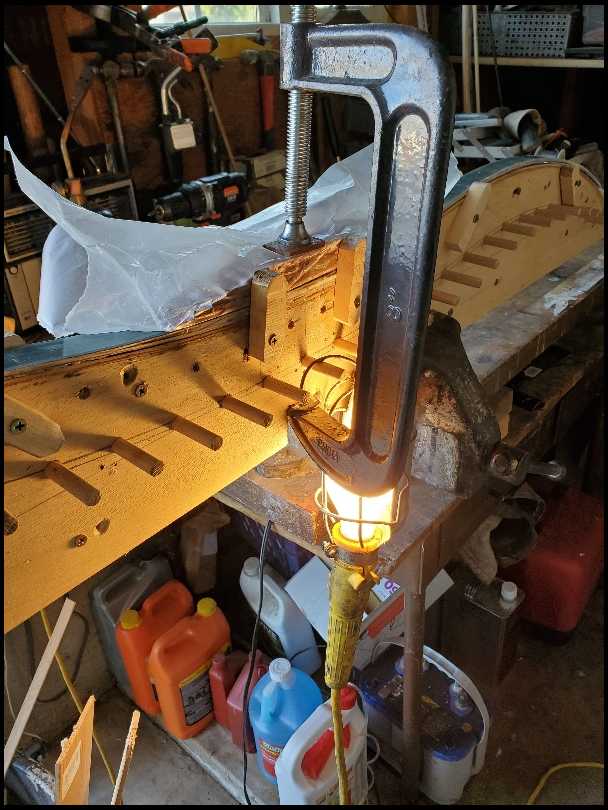
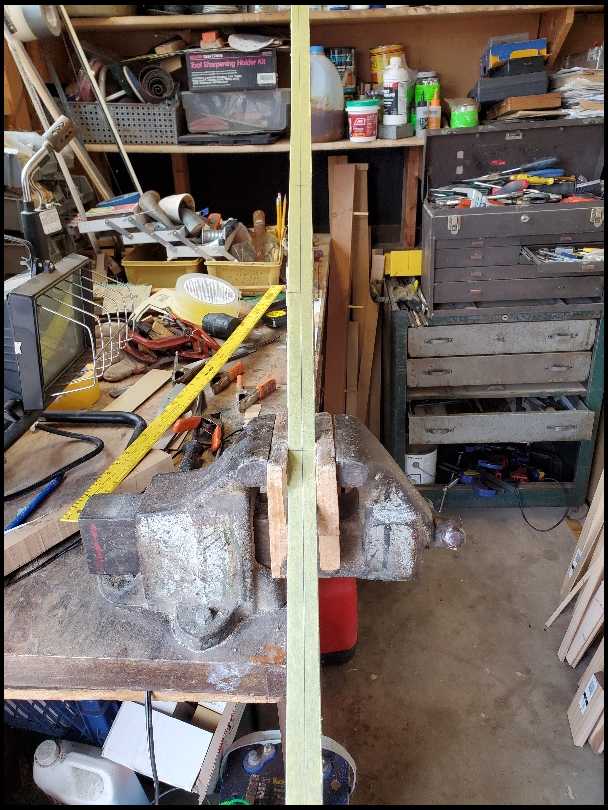
Idecided to do something different for this riser block. I cut some pieces of purple heart and bocote to width and sanded them to 1/8" thick. A piece of wax paper on top of the bow blank to keep it glue free and then epoxied and stacked on the blank and clamped down hard. Since this was done in the unheated garage a light bulb was suspended beneath it and left to cure.
|
|
| From: Longcruise
|
|
|
|
|
|
|
| Date: 06-May-20 |
|
Heres the end product. I didn't expect great results with this and expected to discard the idea and form a single block. That still might be how it goes. Should know soon.
|
|
| From: Longcruise
|
|
|
|
|
|
|
| Date: 12-May-20 |
|
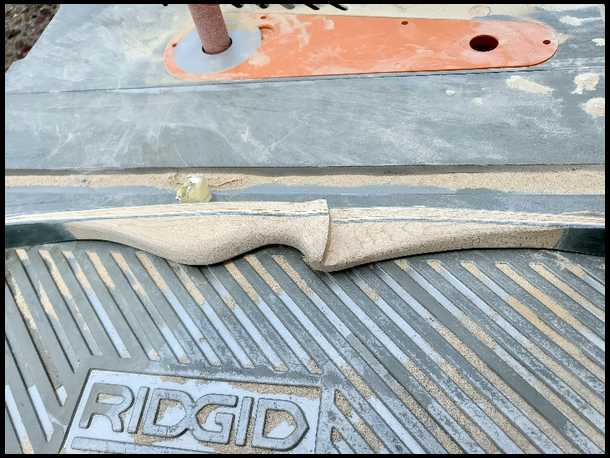
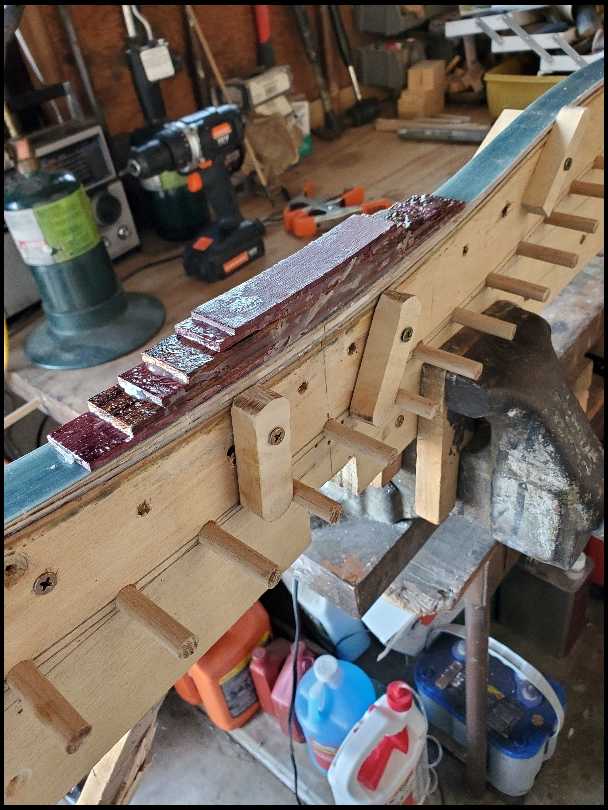
Ok, so I abandoned the laminated handle on the riser and went with a one piece maple. It's a slight asymmetrical design to keep the arrow rest a bit closer to center.
|
|
| From: Oldbowyer
|
|
|
|
|
|
|
| Date: 13-May-20 |
|
So how does that hose thing work with out a top form??
|
|
|
|
| From: Longcruise
|
|
|
|
|
|
|
| Date: 13-May-20 |
|
Todd, not sure if you are asking a out mechanics or effectiveness, so I'll cover both.
Mechanically, tbe hose is fully deflated and strapped down with paracord. The pins are hickory. Have never had one break. Pressure usually around 65#. When everything is in the form the pressure strip goes on (in the case a strip of pine about 1/4" thick) and then i tie the whole thing down with zip ties through holes in the form and over the top. Then the little side bumpers are adjusted to be a hair below the pressure strip. Add 15 or so pounds of air and check for problems then snip the zips and pull them out. Then air it up.
It has been very handy so far on four different forms. The system is really just a rubber band form but is much easier to use and allows flexibility in riser length and shape. Handy for me since I've never built identical bows off the same form. 8^)
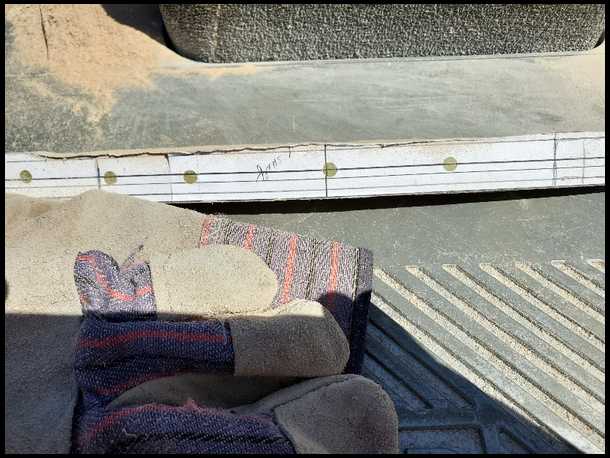
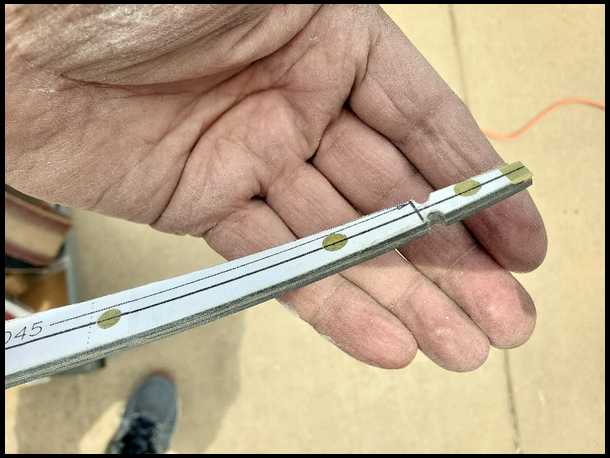
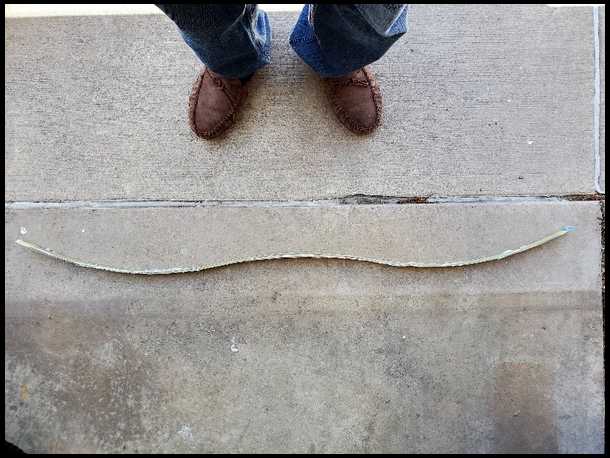
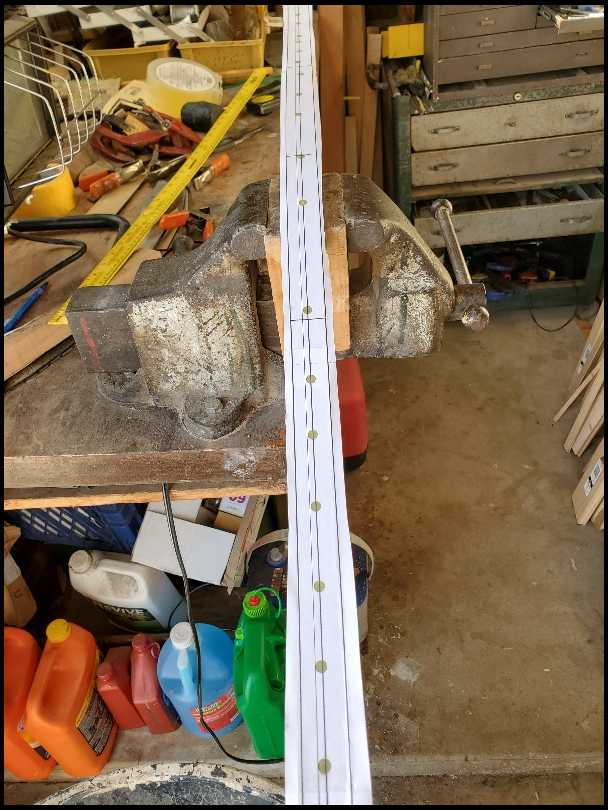
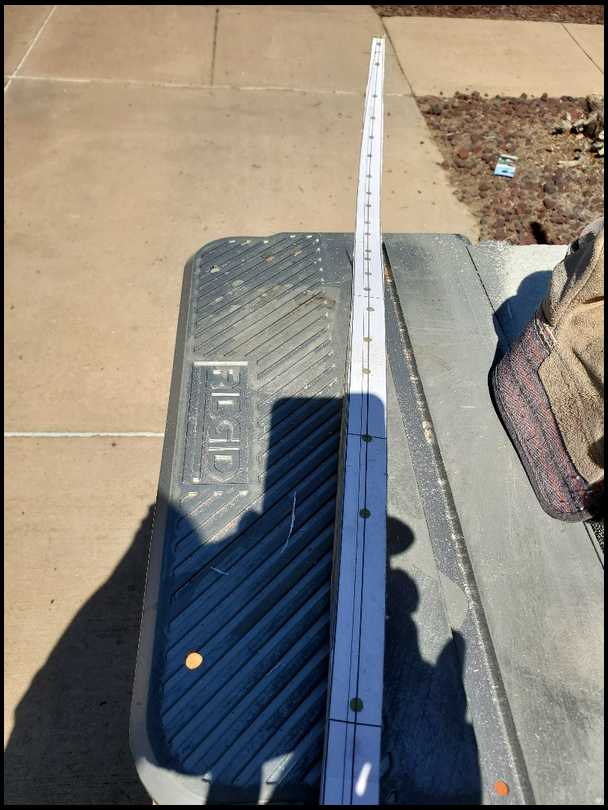
Just got the riser block out from under the heat lamp. Taped the back, drew a centerline (doesnt look all that centered. Think i picked up a bit of warp on one end of the form) and glued a limb template down. It's going to make a bow but I'll feel better when it's back to straight.
|
|
|
|
| From: Longcruise
|
|
|
|
|
|
|
| Date: 13-May-20 |
|
So that's it for today. We will grind the limbs out tomorrow if it doesn't rain!
|
|
| From: Longcruise
|
|
|
|
|
|
|
| Date: 13-May-20 |
|
i do the zip ties and pressure strip BEFORE the hoze is tied down. Got that out of order!
|
|
| From: Buckeye
|
|
|
|
|
|
|
| Date: 14-May-20 |
|
cool thread, i have been wanting to do some kid bows as well. im thinking the straight longbow form would be easy to use because i can make the length to whatever suites me . i am interested on the stack thickness and draw weight you come up with longcruise.
Thanks for sharing.
|
|
| From: Longcruise
|
|
|
|
|
|
|
| Date: 14-May-20 |
|
These particular bows are 1" wide and 50" nock to nock. The stack is around .255. They draw 18# at 26". I don't think the stack would be applicable to a flat longbow though. Ya just have to science it out.
|
|
| From: Longcruise
|
|
|
|
|
|
|
| Date: 19-May-20 |
|
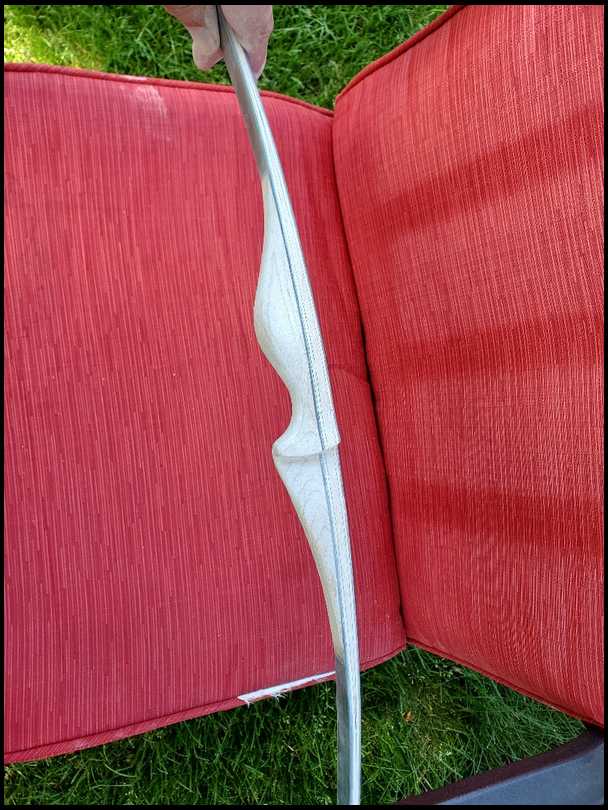
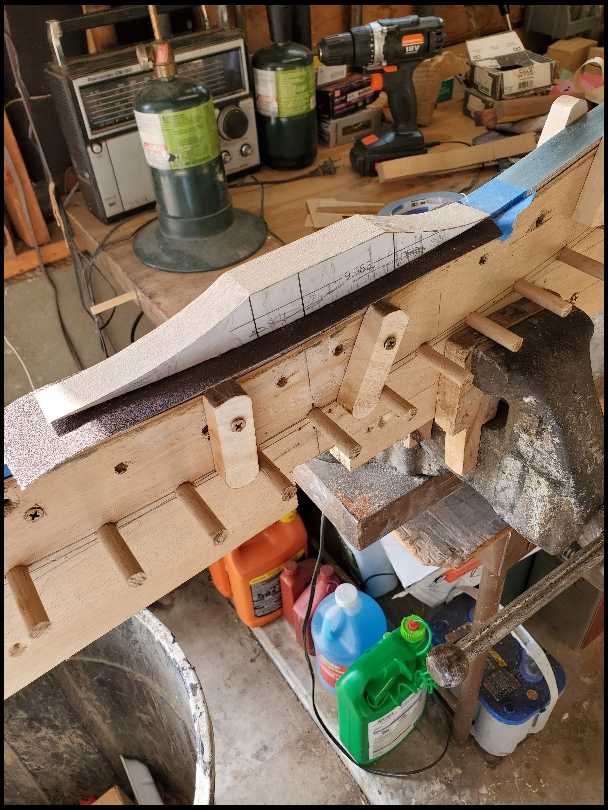
It's been a while but today I was able to get back to it today.
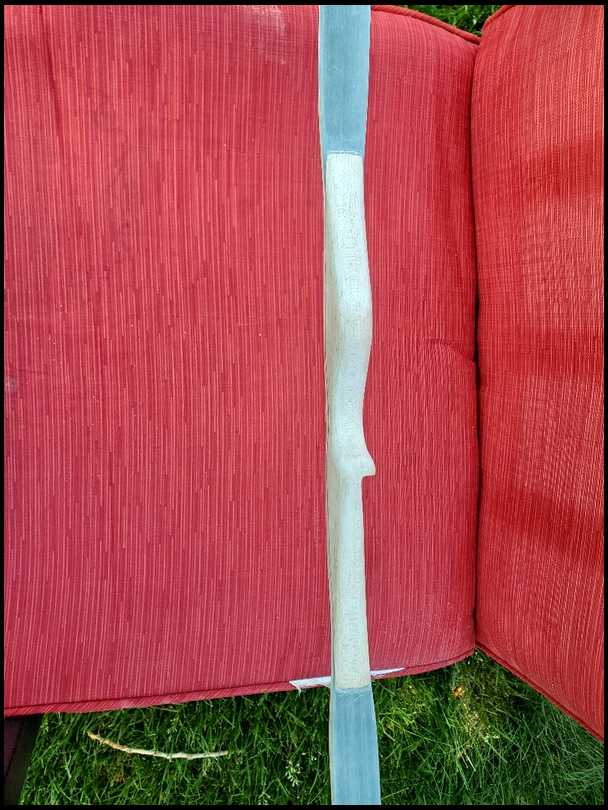
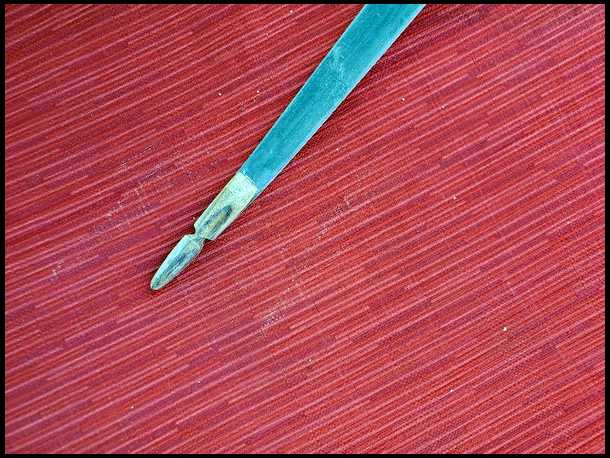
There's not much to say that the pictures don't say better. The limbs are ground to dimensions and the riser is getting roughed in. Some string nocks are filed in and the bow is tillered to a slight upper limb positive. The last thing for today was to glue tip overlays in place. I'll try to get them shaped tomorrow and do some final sanding on the whole bow.
|
|
| From: Longcruise
|
|
|
|
|
|
|
| Date: 19-May-20 |
|
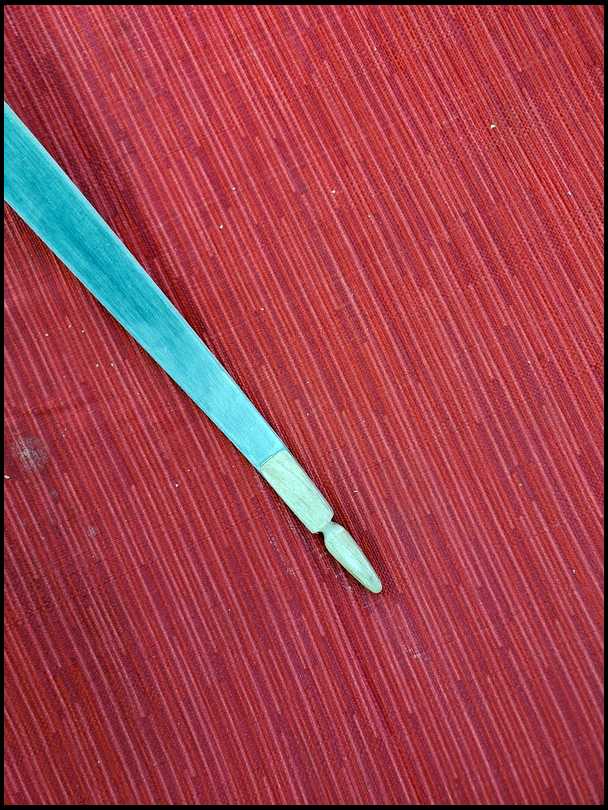
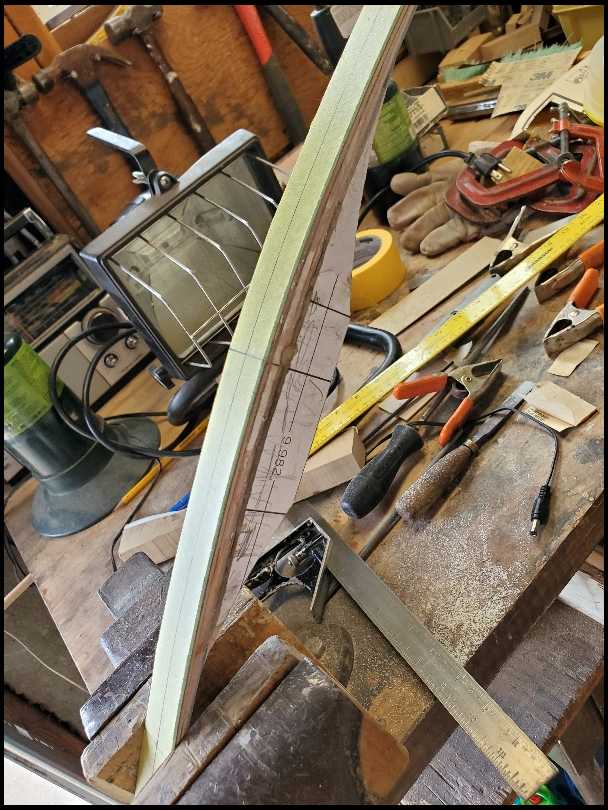
Wrong button. Meant to add a picture. :)
Here's the profile to be final shaped by hand after rough in on the sanding belt.
|
|
|
|
|
|
|
|
|
|
| From: AK Pathfinder
|
|
|
|
|
|
|
| Date: 19-May-20 |
|
Looking good! What thickness of glass did you use?
|
|
| From: Longcruise
|
|
|
|
|
|
|
| Date: 19-May-20 |
|
I used 40 but I'd like to get some 20. If I build more I'll see if Kenny M can grind it for me.
|
|
| From: Heat
|
|
|
|
|
|
|
| Date: 19-May-20 |
|
Very cool! Thanks for taking us along.
|
|
| From: HARRY CARRY
|
|
|
|
|
|
|
| Date: 19-May-20 |
|
WOW! A very impressive WOW!
|
|
| From: Barber
|
|
|
|
|
|
|
| Date: 19-May-20 |
|
Thanks for posting, looking forward to seeing the bow when finished. Looking great so far !
|
|
| From: Longcruise
|
|
|
|
|
|
|
| Date: 29-May-20 |
|
Time for some catch up. These pictures are after final sanding and wipe down. I sorta agonized over whether or not to stain the wood portions and in the end left it natural. The tip overlays are myrtle. They are cut from the same small piece and one had the black figure in it and the other not. :)
|
|
|
|
|
|
| From: Longcruise
|
|
|
|
|
|
|
| Date: 29-May-20 |
|
The finish goes on later today.
|
|
| From: Toxo23
|
|
|
|
|
|
|
| Date: 29-May-20 |
|
Is this guy awesome or what?!?!?
|
|
| From: Bowbaker
|

|
|
|
|
|
|
| Date: 30-May-20 |
|
Great build along thanks for taking us along. I too build a similar kids bow, absolutely one of my favorite bows to build. The look when you hand one to a kid is priceless.
|
|
|
|
| From: Oldbowyer
|
|
|
|
|
|
|
| Date: 30-May-20 |
|
Bow is coming along quite nicely! Some little feller or gal gonna be very happy with that
|
|
| From: Gray Goose Shaft
|
|
|
|
|
|
|
| Date: 30-May-20 |
|
Exciting, thanks for the post. I always admire the work of a bow builder.
|
|
| From: Longcruise
|
|
|
|
|
|
|
| Date: 30-May-20 |
|
"Great build along thanks for taking us along. I too build a similar kids bow, absolutely one of my favorite bows to build. The look when you hand one to a kid is priceless."
Jess, you may not recall but it was you who gave me the idea of splitting 2" materials and working with a 1" form along with stack suggestions. Thanks, it got me started on this. Was probably on the TG Bench where I'm known as monterrey.
|
|
| From: Bowbaker
|
|
|
|
|
|
|
| Date: 30-May-20 |
|
Oh cool, glad see the info proved useful.
|
|
| From: MattS
|
|
|
|
|
|
|
| Date: 30-May-20 |
|
Looks great!
|
|
| From: bodymanbowyer
|
|
|
|
|
|
|
| Date: 30-May-20 |
|
Looking great :-) I too love building little people Longbows LOL 36-48 inches.
|
|
| From: Buckeye
|
|
|
|
|
|
|
| Date: 20-Aug-21 |
|
got any pics of the final product? Or a smiling little person with their new bow?
|
|
If you have already registered, please sign in now
For new registrations Click Here
|
|
|
|