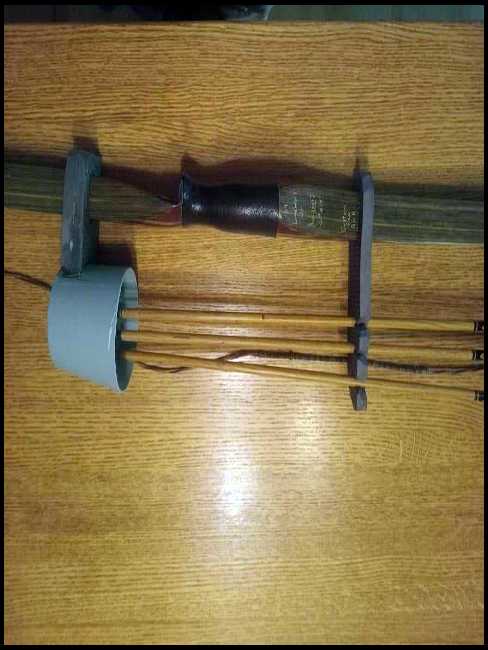
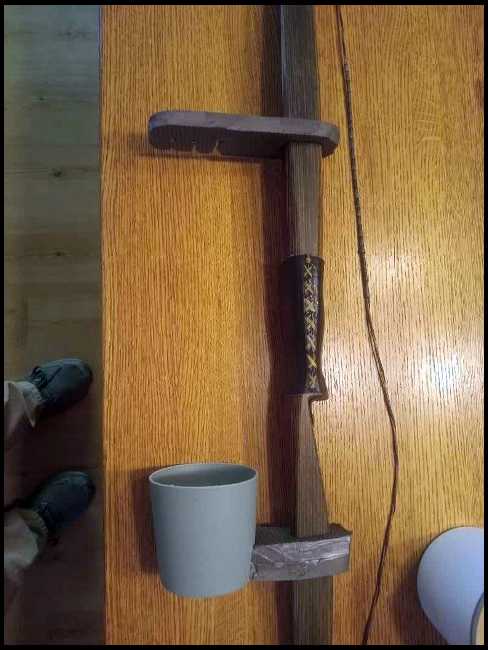
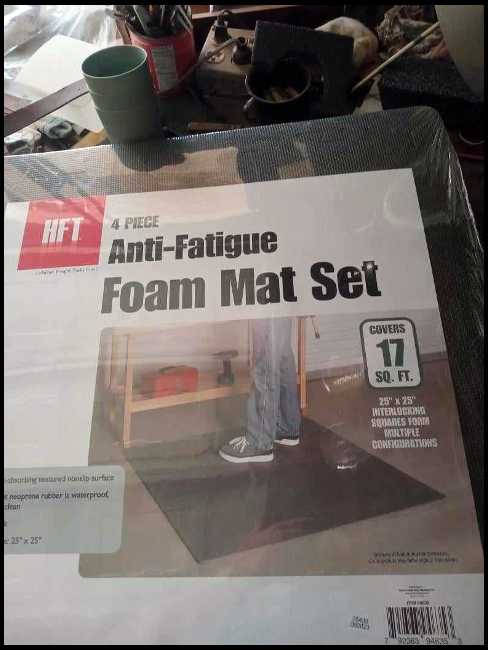
I just wanted a lightweight 3 arrow quiver that I could make easily enough. I got some plastic 4 1/2" glasses from the dollar store and a foam mat set from Harbor Freight.
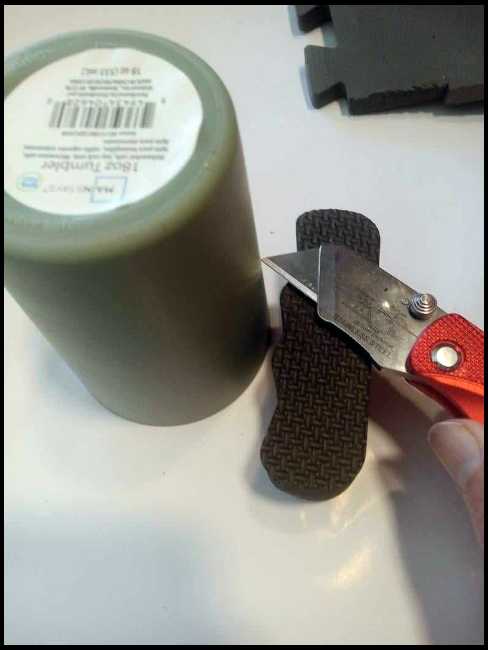
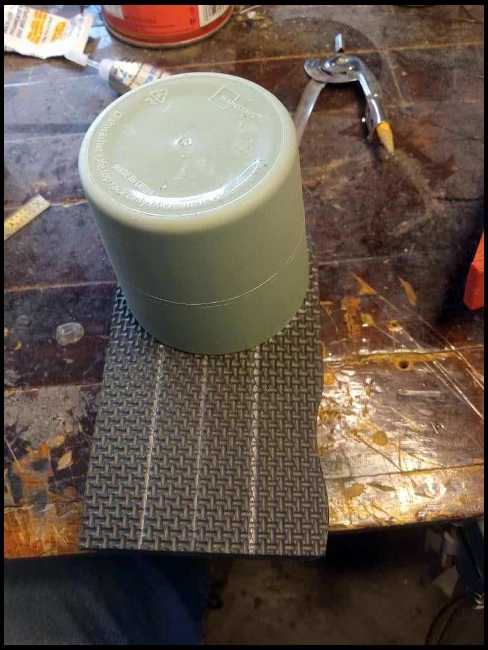
Since I didn't want to use the whole glass, I cut off 1 1/2" off the mouth, using a box cutter to mark the cut all around the glass by simply turning the glass as I held it to the blade. The blade was supported by something that was 1 1/2" thick.
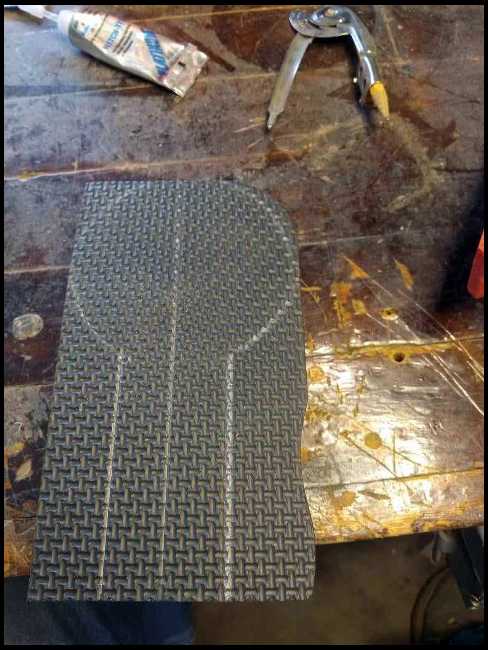
I then used the mouth of the 3" glass to mark a circle on the matt and the added a leg to the circle that was 1 1/2" wide and about 3" long.
I made two of these that I cut out, the matt is 1/2" thick and is too limber by itself for the hooded broadhead.
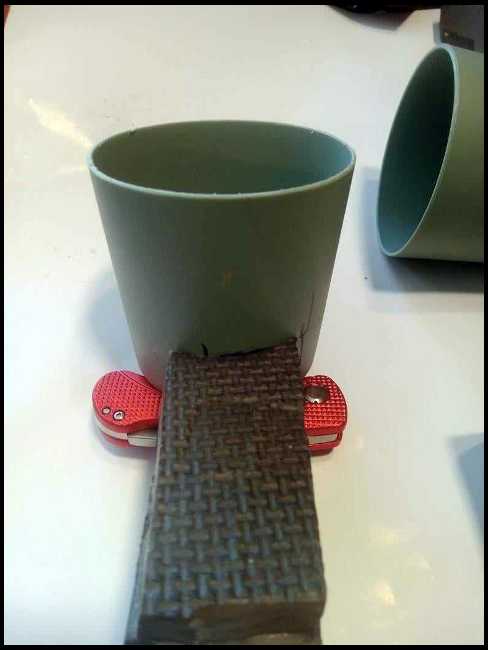
On the now cup sized 3" hood, I marked a 1 1/2" wide and 1" tall slot to cut out for the leg to come thru. Leaving the bottom intact so there is just the open slot at the base of the glass. (originally I had tried 1 1/2" thick knee pads but it was too stiff to get thru the slot that I had made for it)
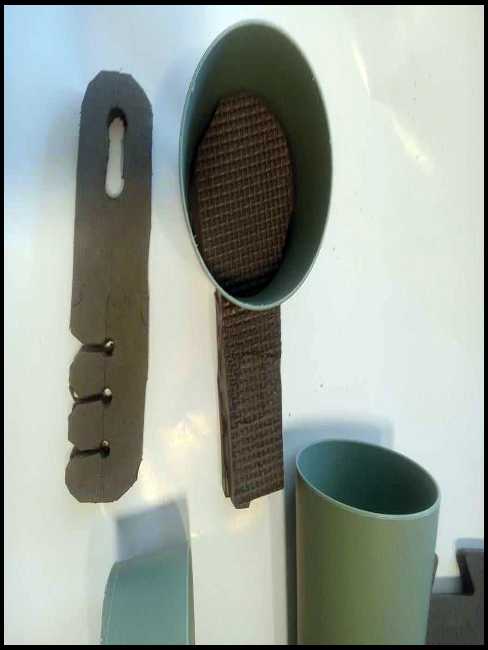
I pushed the first piece down thru the mouth of the glass so that the leg portion could be pulled on thru the slot. This meant the circular portion was now flat at the bottom of the glass and 1/2" thick.
Next, I worked the second similar piece down into the same slot and out, making it an inch thick. once this was done, I glued the two legs together to make it more rigid.
I marked with the same cut off glass, a circle piece with no leg to go into the glass and make the foam pieces into 1 1/2" total thickness (I glued this in so it would stay in place when pulling out an arrow.)
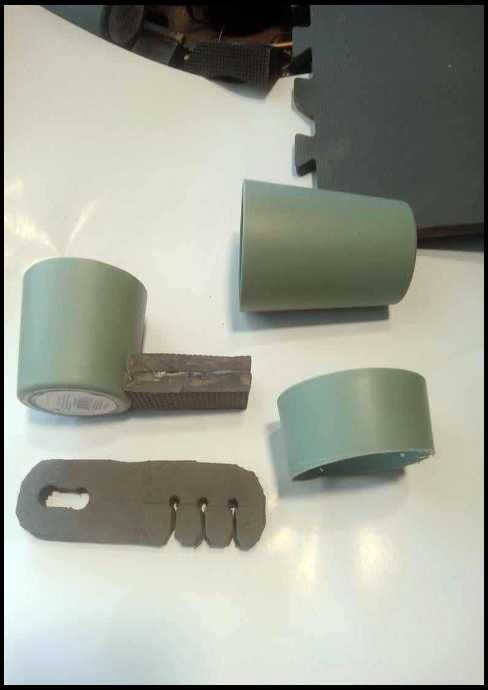
I then used a 1/2" wood drill bit to drill two holes to where the outside of the slot would be 1/2" from the end of the foam.
I measured the bow's width and found it to be about 1 1/4" wide, so I drilled the holes to end up with a slot that was about 1 1/8" or less total to have a grip on the bow. I simply cut the slot using the box knife.
For the arrow holder, I cut a piece that was 1 1/2" wide and 6 1/2" long (all foam was cut to this length). I then made another identical slot using the 1/2" drill bit and the box knife. I made sure to have at least 1/2" thickness at the end of the slot left insure the end would not split or tear.
Since this was just for 3 600 spline arrows, I used a 1/4" drill bit to drill smaller holes to grip the arrows. I cut narrow slots to these holes to slide the arrows into.
The one thing that might change on the next one is to use a different foam for the circle piece that I added for the broadheads to stick into. Maybe more like EFFA foam, time will tell. I know that it grips the arrows great and they don't shake loose. I had tried using new flip flops for the same thing but they were too flimsy.
For as cheap as the floor matts were, 4 of them and very big at that, you can make a lot of them for a long time.
I will sometime later, put some thin leather on the plastic glass to make it look better. I had no guidelines to go by, just went for it. I did use a bandsaw to slowly rotate and cut the glass shorter. As cheap as this is and gives you broadhead protection, you can afford to mess up and make improvements.
Over all, it took longer for the glue to set on the two legs than to actually make it. Yes, I plan to go back and sand the edges nicer and all of that. But maybe someone will see this and make one themselves, heck they might make a lot better one. Thanks for looking, Jerry