| From: fdp
|
|
|
|
|
|
|
| Date: 07-Feb-16 |
|

I can't stand to sit in the house so I decided to make a couple of new tabs. Since there has been some discussion around that lately, I thought I'd show how I make mine.
|
|
| From: fdp
|
|
|
|
|
|
|
| Date: 07-Feb-16 |
|

Oddly...the pics. didn't load correctly. Here is the raw material.
|
|
| From: fdp
|
|
|
|
|
|
|
| Date: 07-Feb-16 |
|

I prefer to make tabs of more than 1 layer. These were remnants from something I bought at a 2nd hand store, The pattern, and a piece from an old wallet for the face.
|
|
| From: fdp
|
|
|
|
|
|
|
| Date: 07-Feb-16 |
|

Pic above is all the pieces marked out. This is a split finger tab. This picture shows the pieces cut out.
|
|
| From: fdp
|
|
|
|
|
|
|
| Date: 07-Feb-16 |
|

Here the pieces stacked and rough trimmed. I punch 4 holes and use round elastic for the finger loop.
|
|
| From: fdp
|
|
|
|
|
|
|
| Date: 07-Feb-16 |
|

Here is the tab from the backside after the elastic is threaded through the holes.
|
|
| From: fdp
|
|
|
|
|
|
|
| Date: 07-Feb-16 |
|

Here is the finished tab before final trimming.
|
|
| From: fdp
|
|
|
|
|
|
|
| Date: 07-Feb-16 |
|

And here is the finished product.
|
|
| From: kenwilliams
|
|
|
|
|
|
|
| Date: 07-Feb-16 |
|
Frank do you shoot 1 under or am I looking at the picture wrong?
|
|
| From: fdp
|
|
|
|
|
|
|
| Date: 07-Feb-16 |
|
Ken..it's the orientation of the picture. I shoot split finger.
|
|
| From: Bill Stapleton
|
|
|
|
|
|
|
| Date: 07-Feb-16 |
|
So you're holding that in your right hand then? Looked like your left hand and appeared to be split for two above and one below.
Regardless, sweet.
I've always shot Bear hair can't pinch tabs. I too like them thicker and I think they come with 3 layers. I'll have to double chech that though. I like to take old worn out tabs and get the guts out of them and thicken the new tabs. I like 4-5 layers. Feel it gives me a cleaner release.
|
|
| From: Rutnomore
|
|
|
|
|
|
|
| Date: 08-Feb-16 |
|
Monkeyball uses the loops to go around wrist, very handy
|
|
| From: fdp
|
|
|
|
|
|
|
| Date: 08-Feb-16 |
|
Craig...isn't amazing where you can find high quality leather?
I find all kinds of good stuff in all kinds of odd places.
|
|
| From: Tomarctus
|
|
|
|
|
|
|
| Date: 12-Feb-16 |
|

I too made a split finger version of the three under double cordovan tab I made and have been fondly using for a year or so. Since I have a hankering to commit to split this year, a split finger version of this tab seem sensible. Luckily, I had the presence of mind to snap some build-along pix a long the way. So to build upon FDP's thread and without much ado, here is how it went taking about 20 minutes or so:
Here's the three under tab:
|
|
| From: Tomarctus
|
|
|
|
|
|
|
| Date: 12-Feb-16 |
|

I made this one with two layers of thick cordovan. I'm not a "gotta feel the string" kinda dude, but my scrap only had enough left for the face of the new tab. So in the background, you can see another red scrap of thick hide that I used on the back side, which, makes this more visually interesting.
|
|
| From: Tomarctus
|
|
|
|
|
|
|
| Date: 12-Feb-16 |
|

So first things first, gotta make a pattern. Traced it out a pattern quickly on an index card. Note that the black cordovan face is about 1/4" shorter than the red back so as not to hang over the latter. You'll see that in a coming pic. Labeled these things well and still almost screwed it up!
|
|
| From: Tomarctus
|
|
|
|
|
|
|
| Date: 12-Feb-16 |
|

Then traced it out with a ballpoint pen and cut it out with a sharp knife right quick. Note the rectangular piece, this is a face-side stiffener piece like on my other tab. Also takes up extra space for the long rivits that I have on hand.
|
|
| From: Tomarctus
|
|
|
|
|
|
|
| Date: 12-Feb-16 |
|
It's lookin that this tab is going to be right about 1/4" thick. Perfect.
|
|
| From: Tomarctus
|
|
|
|
|
|
|
| Date: 12-Feb-16 |
|

Next laid out and punched the holes for the rivits and lace then punched the holes. Last time I just drilled them but got a punch for some other projects. Makes it real easy.
|
|
| From: Tomarctus
|
|
|
|
|
|
|
| Date: 12-Feb-16 |
|

Next glued the layer together with superglue (cause it was handy).
|
|
| From: fdp
|
|
|
|
|
|
|
| Date: 12-Feb-16 |
|
Very nicely done Kyle. Where did you find the Cordovan?
|
|
| From: Tomarctus
|
|
|
|
|
|
|
| Date: 12-Feb-16 |
|
Tandy leather pre packaged scrap leather bag. Had two good cordovan scraps in it.
|
|
| From: Tomarctus
|
|
|
|
|
|
|
| Date: 12-Feb-16 |
|

put in a couple rivits to hold it together permanent like. Note the double holes are in line with the nock cutout. When I get it laced up here the lace makes for a bit of a finger spacer.
|
|
| From: Tomarctus
|
|
|
|
|
|
|
| Date: 12-Feb-16 |
|

Here is the lace-up and how it finished out. Added a little wooden bead. All that is left is to start shootin and get it broke in... And trim off a few proud bits of leather along the way, but I sized it pretty tight and so the fit feels mostly there.
|
|
|
|
|
|
| From: Tomarctus
|
|
|
|
|
|
|
| Date: 12-Feb-16 |
|
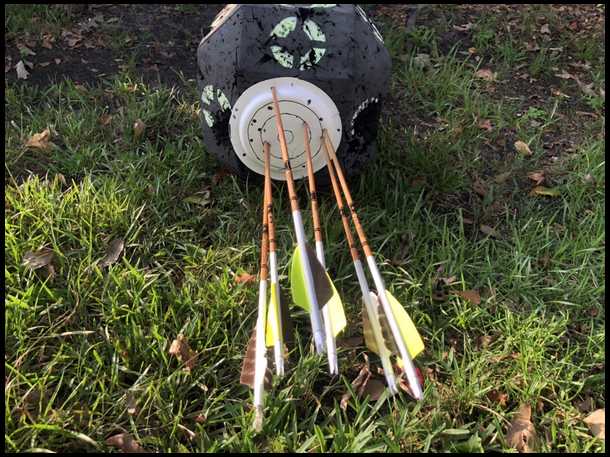
Just flung a few arrows out I the garage....this one turned out well.
|
|
| From: Kwikdraw
|
|
|
|
|
|
|
| Date: 12-Feb-16 |
|
Thanks man, I'll be makin' mine in the future! Wyatt
|
|
| From: mahantango
|
|
|
|
|
|
|
| Date: 13-Feb-16 |
|
Very nicely done Kyle. I also like a thick tab, that's why I make my own. Surprised more people don't.
|
|
If you have already registered, please sign in now
For new registrations Click Here
|
|
|
|


